Use the RollCall Bulk Upload CSV option to manually add new students and parents for the upcoming school year.
This process involves preparing a CSV file with the required details and uploading it into the system.
Follow the steps below for clear, easy instructions to complete the upload smoothly.
Steps to Complete the RollCall Rollover Bulk Upload CSV
Download the CSV Template:
RollCall provides a CSV template with all the required fields for student and parent information.
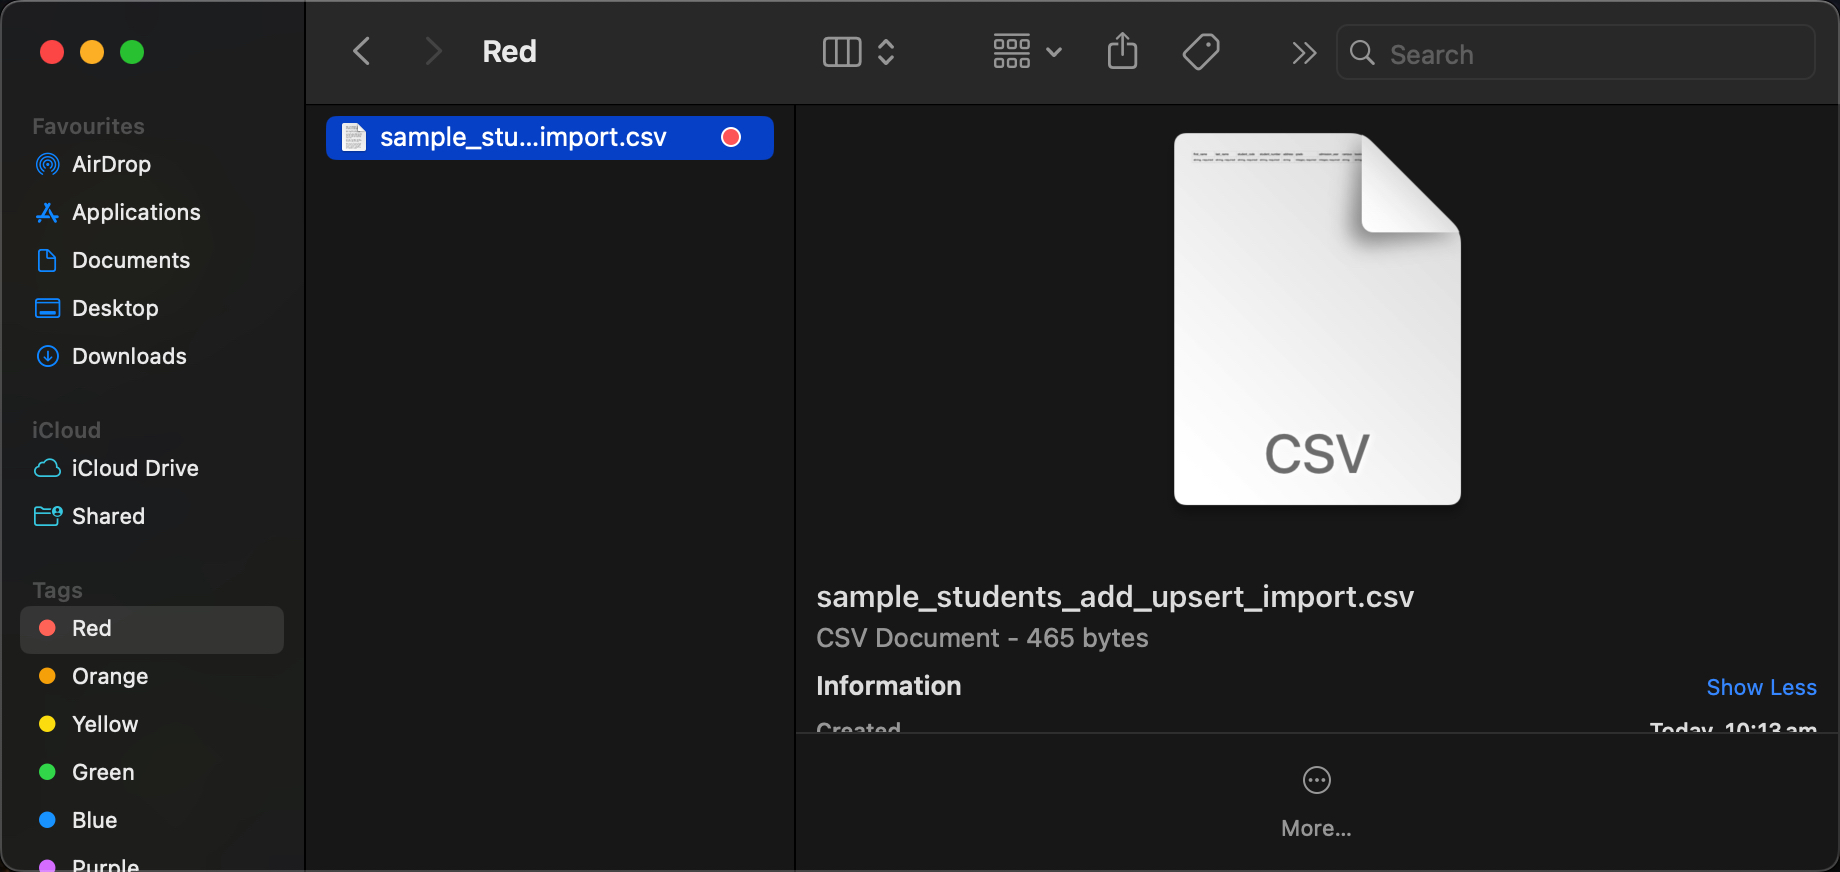
You can download the template directly from the RollCall Admin Console.
Using this template ensures your data is formatted correctly before you upload it into the system.

Preparing the CSV File
Do not add or remove any columns in the template — it’s already set up for the correct format.
Using the downloaded template, enter the details of all new students and their parents or guardians.
Once complete, save the file in CSV format.
- Make sure to include all the information you want imported into the RollCall student database.
- Any details left out will need to be added manually later.
- Fields marked with an asterisk (*) are required.
- Fields marked with a tilde and asterisk (~*) are required, only when another field has been added.
- *first_name - First name of the student how you would like it to appear in the RollCall system.
- *last_name - Last name of the student how you would like it to appear in the RollCall system
. - *student_code - The unique code sent by a student’s scan card or tag to the RollCall device. If you don’t know the code or plan to load card codes later, simply leave this field blank.
- *student_number - The unique number used by your school to identify each student
- address – The student’s primary home street address (no PO Boxes). - This information helps optimise transport routes based on where students live.
- *grade - Student’s current (this year) grade/year level. Numeric only. Use 0 for prep/kindergarten, -1 for pre-prep etc.
- *admission_year – MUST BE THIS YEAR (year imported to RollCall, not the year the student was admitted to the school)
- *campus – Enter the campus name exactly as you want it to appear in RollCall. We recommend including your school name or acronym in the campus name.
- *booking_option – “CASUAL” or “BUS_TRAVELLER” only. All students will be loaded as CASUAL by default if left blank.
- The following fields are only required if RollCall system will be used for charging bus fares or collecting payments:
- *payment_charging_option - Valid entries are “PAYG” or “PAY PER PERIOD”.
- NOTE – “PAY PER PERIOD” is only valid if booking_option = “BUS_TRAVELLER”
- NOTE – “PAY PER PERIOD” is only valid if booking_option = “BUS_TRAVELLER”
- ~*payment_frequency - Valid entries are “Year” or “Term” or “Semester”.
- NOTE leave this column blank if payment charging option = “PAYG”
- NOTE leave this column blank if payment charging option = “PAYG”
- discount_percentage - Leave blank or enter a number to apply a discount to student fares
- fixed_fare - Leave blank, or enter a number to set a fixed fare per trip for PAYG students.
- This fare will override other settings and be charged each time a PAYG student travels.
- This fare will override other settings and be charged each time a PAYG student travels.
- *payment_charging_option - Valid entries are “PAYG” or “PAY PER PERIOD”.
- Adding a parent contact is optional.
If a student has more than one primary contact, add a new line with the same student details.
Each parent must have a unique email address (required) and a phone number (optional).- contact_first_name - First name of the parent contact how you would like it to appear in RollCall.
- contact_last_name - Last name of the parent contact how you would like it to appear in RollCall.
- ~*contact_email - REQUIRED FIELD Primary contact email address must be unique. i.e. multiple primary contacts can’t have the same email address.
- ~*contact_mobile - Primary contact mobile phone number including country code. Spaces are ignored, but special characters may cause the record to be rejected. Preferred EXAMPLE - 61 0499999999
- contact_first_name - First name of the parent contact how you would like it to appear in RollCall.
Make sure all information is accurate and complete — any errors could stop your file from uploading successfully.

3. Check for Formatting Errors
Before uploading, take a moment to double-check that your CSV file is correctly formatted.
Common issues to look for:
Missing required fields (like student names or contact details)
Invalid characters or special symbols that might cause the upload to fail
Duplicate email addresses — each parent must have a unique email
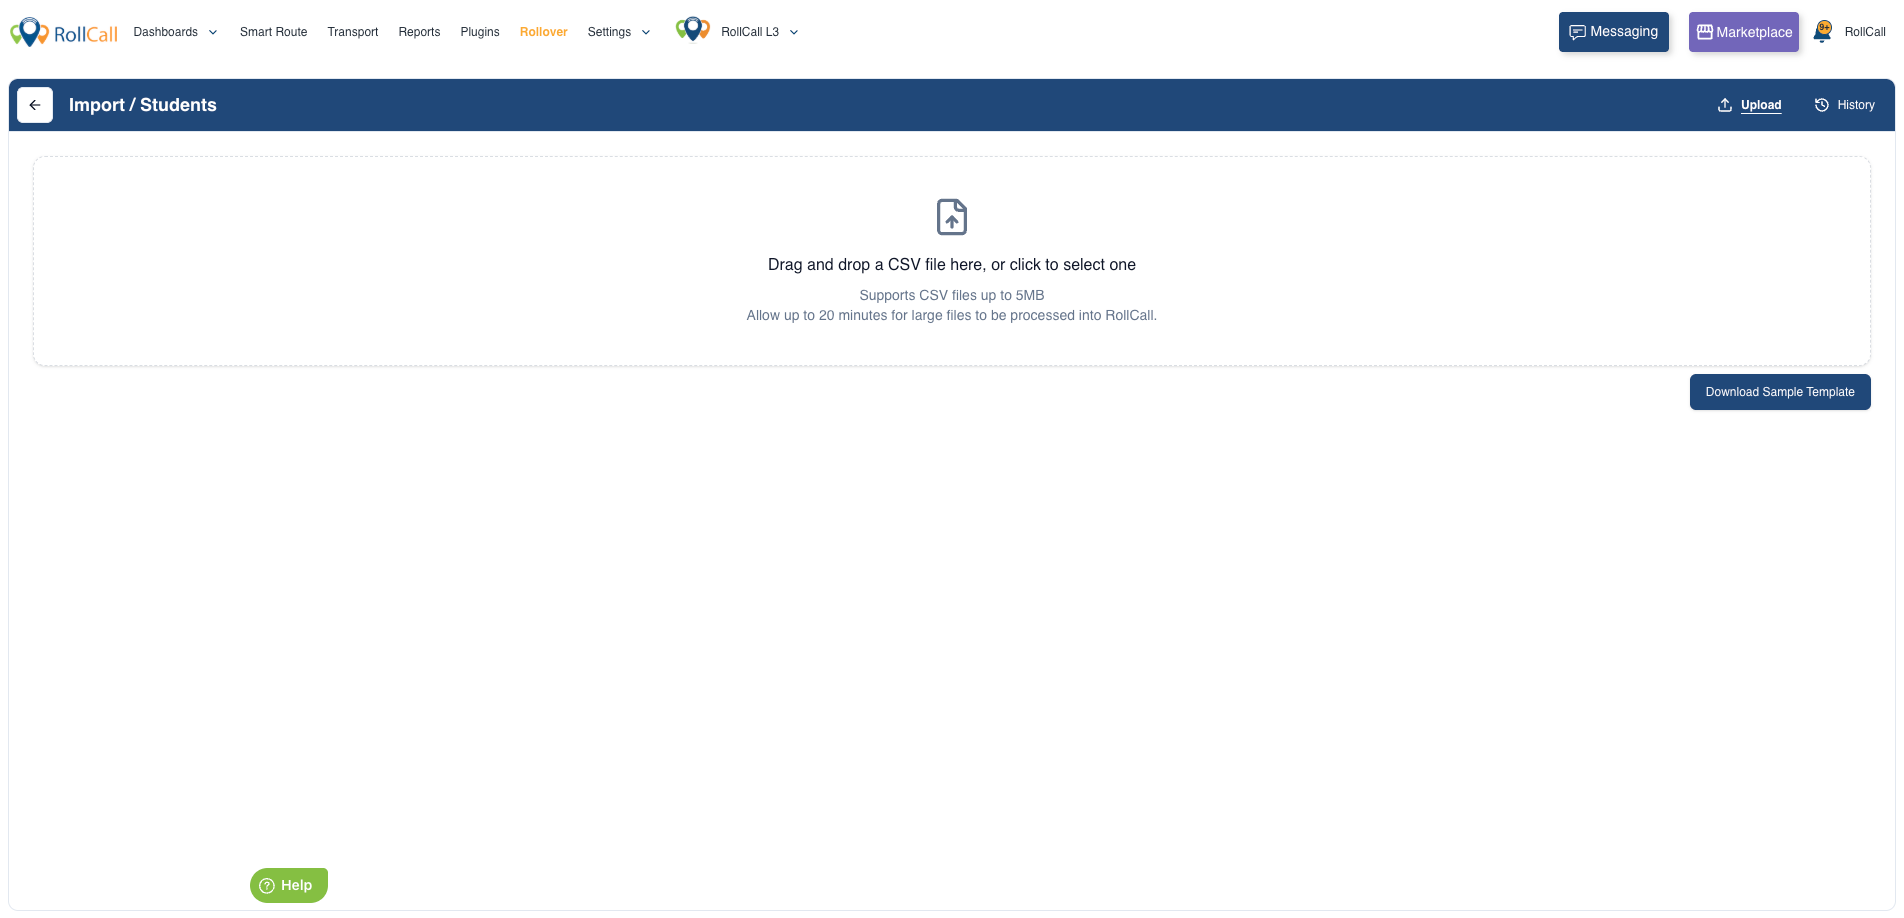
4. Upload the CSV File:
Once your file is ready and correctly formatted, go back to the Bulk Upload CSV section in the RollCall Rollover - New Students and Parents section.
Drag and drop your prepared file, or click Upload and select it from your computer to begin the upload.
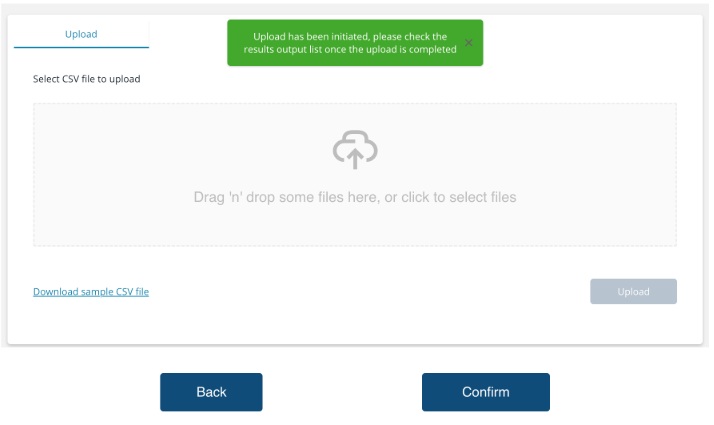
5. Confirm the Upload:
After your CSV file is successfully checked and uploaded, confirm the data submission.
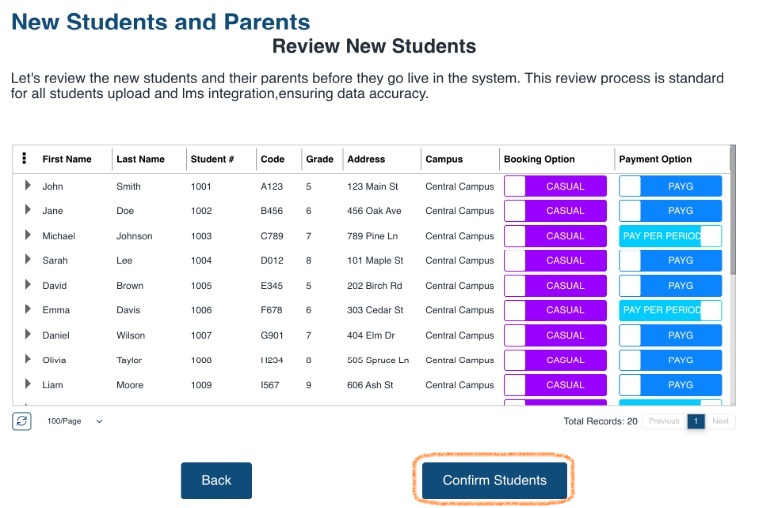
The system will then automatically create student and parent records from your file.
Once complete, review the newly added students and parents to make sure all details were uploaded correctly.
Tips for a Smooth Upload
Use the RollCall template to keep your data formatted correctly.
Check your details before uploading to avoid fixes later.
Upload in batches if you have lots of students — it’s quicker and easier.
Need Help?
If you need assistance with the Rollover, please contact our support team at support@rollcall.com.au
Was this article helpful?
That’s Great!
Thank you for your feedback
Sorry! We couldn't be helpful
Thank you for your feedback
Feedback sent
We appreciate your effort and will try to fix the article