ROLLCALL HOW-TO · SMART ROUTE
Smart Route Overview
Plan a route, allocate students, and review your work before publishing.
Use this guide to learn the core Smart Route planning functions.
Quick path: Smart Route → new or saved planning version → Apply
Get started
Smart Route helps you plan bus routes using student locations, stops, and waypoints. This guide covers the basic workflow from opening a planning version to reviewing and saving a proposed route.
Planning area: Smart Route is a sandbox. Changes made here are not automatically applied to live services. Publishing is a separate step.
1 Open a planning version
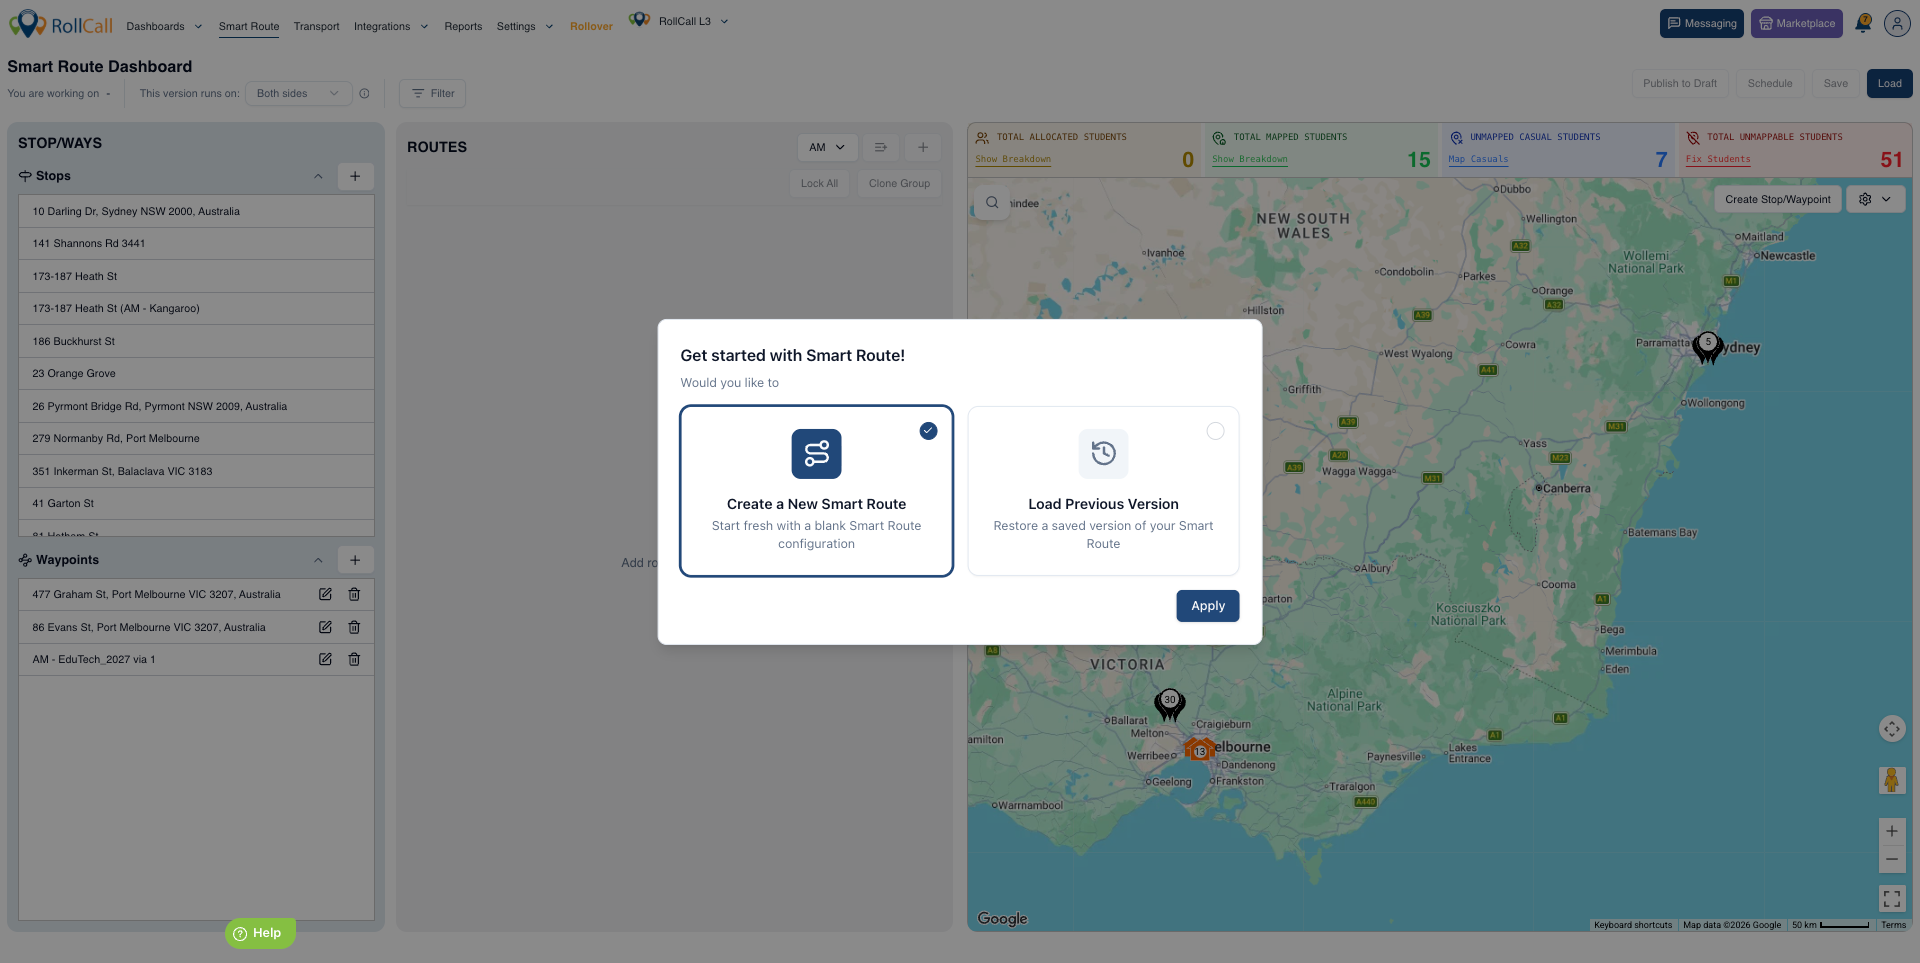
- Select Smart Route from the main menu.
- Choose to start a new planning version or load a previously saved version.
- Select Apply to open it.
2 Choose your planning view
- Work on one Event Group at a time, such as AM or PM.
- Use the filter at the top to select a campus or All. You can select one specific campus at a time.
- Show or hide Casual students as needed. Bus Travellers help you review regular demand; Casual students can help you identify potential demand.
- Zoom into the area you want to plan.
3 Read the map and panels
- The left panel lists existing stops, with waypoints below.
- Zoom in to separate grouped student markers and inspect locations. A number on a marker can represent more than one student at that location.
- Select a route name to view its stops. Use Show Route Map to display its path.
- A stop takes on the route colour when it is added to that route.
Build a route
4 Select a route and arrange its stops
- Choose the route you want to work on and enable its Select control before selecting stops for it.
- Add the required stops to the selected route.
- Drag the stops into the intended travel order. For a journey to campus, place the campus stop last. For a return journey from campus, place it first.
- Review the path with Show Route Map. If needed, switch the display off and on after changing the order.
Stop order matters: Arrange and review the sequence yourself. Do not assume that selecting stops in any order will automatically produce the best route.
5 Create a stop or waypoint when needed
- Select the Create Stop / Waypoint control.
- Double-click the required location on the map, then select the add prompt.
- Choose whether you are creating a stop or a waypoint. Enter its name and location details. For a stop, also review the address and geofence size.
- Save the new item, then add it to your selected route.
Waypoints: Use a waypoint to guide the route along a preferred path between stops. Drag it from the left panel into the route, check the resulting path, and save.
Waypoints are routing markers, not student pick-up or drop-off stops. Students cannot be allocated to a waypoint.
6 Allocate students to stops
- Select the students you want to include on the route.
- Use Allocate Students to Stops. This assigns selected students to their nearest stop.
- Review the allocations and make sure they match the service you intend to provide. Selecting students and allocating them to stops are separate actions.
Review and save
7 Check the plan and save your work
- Review the stop order, route path, displayed journey time, and student allocations. Check the planned load against the bus capacity.
- Use Lock when you are happy with a route to prevent accidental selection changes.
- Select Save after changes or a group of changes. Save regularly throughout planning.
8 Reuse a plan and prepare it for live use
- For a return journey, use the AM-to-PM clone option and review the reversed stop order. Check that the campus is first for the return journey.
- Save the planning version so you can load it again later.
- When the plan is ready, move it to Draft for review. Publishing from Draft to Production applies the plan to live services.
Before publishing: Review the route with the people responsible for operating it. Confirm the path, stops, allocations, and capacity before making it live.
Need help? Contact support@rollcall.com.au for help with Smart Route.
Next Steps / Related Articles
Was this article helpful?
That’s Great!
Thank you for your feedback
Sorry! We couldn't be helpful
Thank you for your feedback
Feedback sent
We appreciate your effort and will try to fix the article